Set up your receipt printer
A one-time setup for a thermal receipt printer on the counter PC. A USB printer needs a small helper program (steps 1-3); a Bluetooth printer connects through the browser directly (skip to step 4). It takes about five minutes and you only do it once per till.
Install the printer in Windows as "Generic / Text Only"
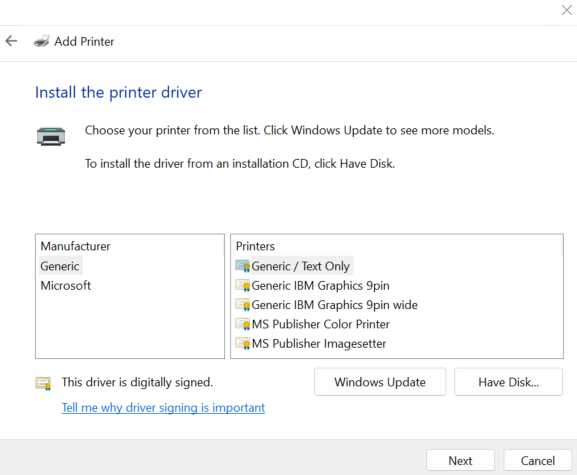
Thermal receipt printers speak a simple text protocol. If you let Windows install the manufacturer's driver, it treats the receipt as a picture and the printer spits out pages of garbage. Install it with Windows' built-in "Generic / Text Only" driver instead.
Open Settings > Bluetooth & devices > Printers & scanners > Add device. If Windows offers the printer by its model name, do not just accept it - choose "The printer that I want isn't listed", then "Add a local printer with manual settings", pick the USB port the printer is on, and on the driver screen choose Manufacturer = Generic and Printer = Generic / Text Only.
Download and install the print helper (USB printers)
A USB printer needs a small helper program on the counter PC. (A Bluetooth printer does not - skip to step 4.)
Download it from the print helper page. Because the app isn't code-signed yet, your browser may warn that it is "not commonly downloaded" - expected for a new tool from a small publisher, not a sign anything is wrong. Choose Keep (in Chrome, click the > or ... next to the download and pick Keep; in Edge, Keep then Keep anyway).
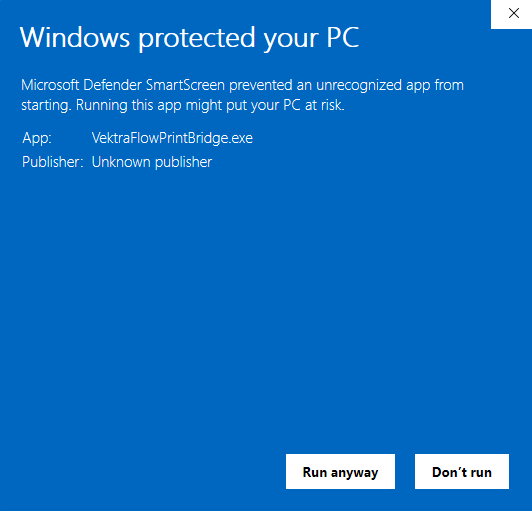
Then double-click VektraFlowPrintBridge.exe. This time Windows SmartScreen shows a blue "Windows protected your PC" box - also expected. Click More info, then Run anyway. No administrator password is needed. The helper then starts automatically each time you sign in.
Pick your printer and test it
The helper sits in the system tray, near the clock. Right-click its icon > Settings, choose the printer you set up in step 1, and press Test print.
Clean, centred text means you're set. Garbage or blank pages means the driver is wrong - remove the printer and redo step 1 as Generic / Text Only. The paper is the confirmation, not the message on screen.
Allow the till page to reach the printer
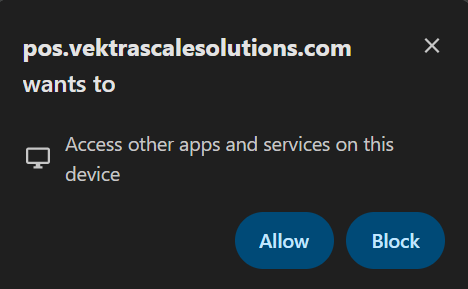
The first time you print from the till page in Chrome, it asks permission for the page to reach the printer on this computer (a local network access prompt). Click Allow. You do this once for the site.